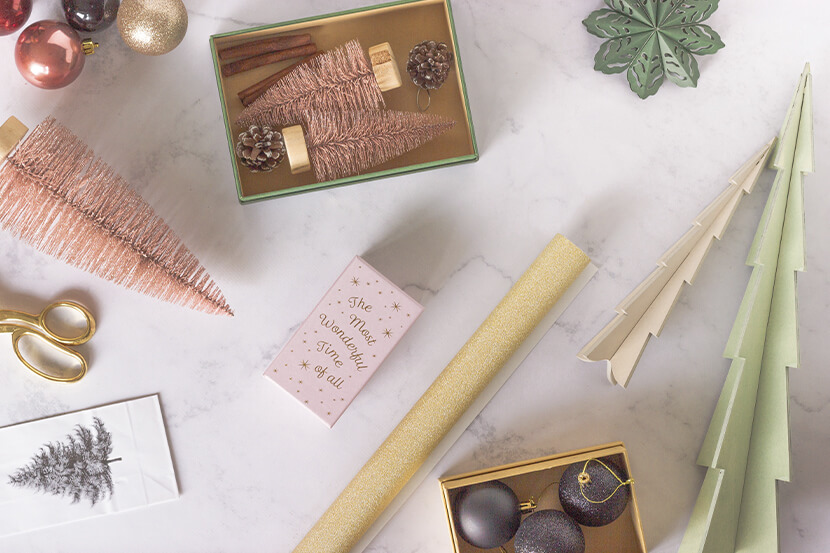
Pick out your perfectly themed wrapping paper, have your ribbons at the ready and get to wrapping your thoughtfully chosen gifts for a loved one with this Mindful Puzzles step-by-step guide. Everyone will be envious of your gift styling prowess.
The basics
Are you a fan of themed gift wrapping? Or are you more of a spontaneous styler? Before you get started, choose the best wrapping paper that will suit your unique style. You want to pick quality paper – this means something relatively durable. The best way to tell if your chosen wrapping will stand the test is to check the transparency. Look for something that is opaque as it won’t rip easily, and sneaky present snoopers won’t be able to peer through it to guess their gift.
Our recommendations: Kikki K and Lilly Pilly Loft have beautiful designs perfect for any occasion and are made from quality material.
Now on to embellishments. You can never go wrong with a stunning ribbon to accent your gift. It will be the cherry on top and can make a wonderful statement piece to finish off your hard work. Working with pared back wrapping paper? Choose a ribbon that will add a pop of colour or a cute pattern. If prints are your chosen look, try complementing them with golds and silvers. You can find great ribbons at your local $2 shop, and they always have an array of fun colours and sizes for you to choose from.
How to wrap a present
Starting tip: It’s easier to wrap something that is a rectangle or square, so if you have something with an irregular shape try putting it into a box for easy wrapping.
- Roll out your wrapping paper and place the present in the centre. When placing the present make sure it’s upside down so the seams will be on the underside. Align the sides of the gift parallel to the lengths of the paper.
Fold the paper up over the side all the way to the middle, then add 1 extra inch. This will give you an indication of how much paper you will need. Make a tiny mark with a pencil on the inside of the paper ready for cutting. - Now that you know your paper is the perfect size, start cutting from your pencil mark from top to bottom. If the edge is jagged, fold it under the smoothed seam for a tidy finish.
- If you’re wrapping a smaller gift, repeat the measuring and cutting step, so you’re not left with too much paper on the ends.
- Bring one side up to just over the centre of the gift and wrap the other side over the top. Taking a piece of tape almost an inch long, tape in the centre of the fold. You can use double sided tape for an even more seamless finish or use a fun patterned tape to add another touch of festive fun.
- On the top end (one of the ends that are still open), crease the paper over the corner and fold.
- Pinch from the top corner of the box and slide it along to make a triangle. Fold this piece in toward the centre and make a crease along the line of the bottom of the box for a clean edge. Repeat on the other side. You should be left with a bit of paper that looks like a triangle with a flat top. Fold that bit up and secure with tape.
- Repeat on the other end of the box.
- Next add your chosen ribbon, embellishment, or card. Take a step back and admire your perfectly wrapped present!
If all else fails, you can never go wrong with a beautiful gift bag.
Happy gift giving!
