Bees, soy, paraffin? Start your chandlery here with Mindful Puzzles guide to creating your own luxurious sensory experience.
While history outlines the primary purpose of candles as light providers, nowadays candles are loved for a plethora of other reasons: their aroma, ambience, and the way they add that perfect touch of elegance to your home. The downside is that candles are considered an extravagant luxury and in today’s market often carry a hefty price tag. Luckily you can make your own for a fraction of the cost.
Choosing your wax
Paraffin vs Soy vs Beeswax
Candles can be made from a range of waxes depending on your budget and desired outcome. Cost-effective and adaptable, paraffin is still the most popular candle-making ingredient today as it easily accepts colour and fragrance. However, due to being a by-product of petroleum, its toxin-secreting nature is not always a crowd favourite.
Blended using soybean oil as a base, soy wax has become increasingly popular. This wax is natural and safe, plus soft and easy to work with, especially for container candles.
If strong aromas and colours are not for you, naturally occurring beeswax, derived from the honey-making process, is subtly scented and won’t need (or take) any artificial additives. If au naturel is more your style, beeswax is for you.
Follow our step-by-step guide to make your own candle, but before you set out on your new candling venture, ensure you have all the supplies and equipment you require.
YOU’LL NEED:
- Suitable jar, tumbler or container
- Wax of your choice
- Wicks, wick stickums, wax holder
- Double boiler
- Dye block or dye of your choice (optional)
- Thermometer, scales, measuring jug (with pouring nozzle)
- Fragrance or essential oils
METHOD:
- Choose your container. Bear in mind the size of your container will determine the quantities and size of other ingredients required. (Example: wax, fragrance and size of the wick)
- Select your wick. Again, this is indicative of the size of your container. Often this can be the trickiest part of the process so it may be worthwhile selecting your wick prior to selecting your container to ensure it fits.
- Calculate your quantities of wax, fragrance and dye (optional):
Wax: As a guide, multiply your jar size in mL by 0.85 and then multiply this figure by the number of containers you wish to fill. (Example: 500 x 0.85 x 4 = 1,700 grams of wax). If your container has a lid leave a 0.5cm gap for your wick.
Fragrance: It is recommended you add a ratio of between 6-10% fragrance oil to wax (Example: 1,700 x 0.06 = 102mL fragrance).
Dye: As a general rule, use one dye block for every 3kgs of wax and grate as much as desired until you have reached your preferred colour.
- Ensure your working space is clear and an ideal temperature (between 19 and 24 degrees Celsius). Stick your wick inside your chosen container using a wick stickum. Use your wick holder to hold your wick in place (keeping it centred and aligned).
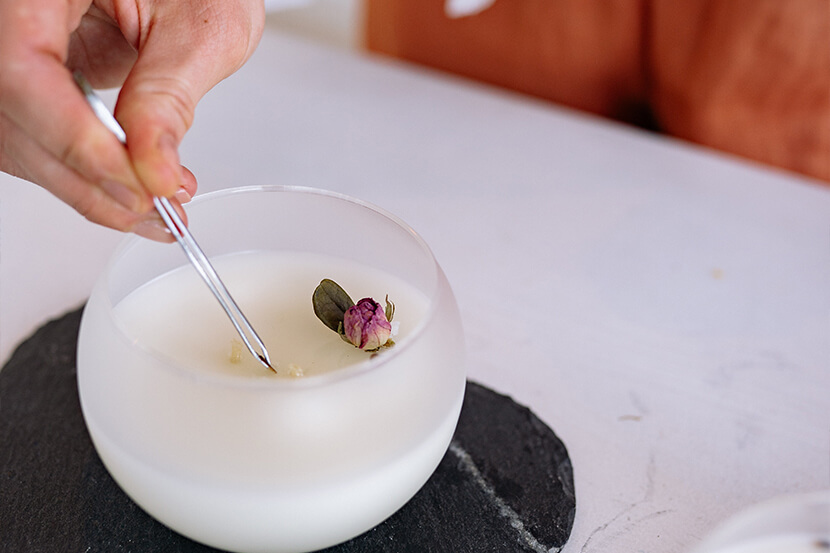
- Place your wax inside a measuring container and place on the scale. Melt your wax using the double boiler, melting completely and then heating to 85 degrees Celsius. Take wax off the stove.
- Add your dye and stir to dissolve completely and evenly. Add your fragrance and stir for 1-2 minutes. Check the flash point of your chosen fragrance as this will determine the appropriate temperature needed to add your fragrance.
- Once your wax has reached around 55 degrees Celsius pour it into your chosen container/s.
- Leave your candle to set at room
For all your candle-making needs, visit www.aussiecandlesupplies.com.au


